What should you not wash a motorcycle with? Quite a few things in fact. Over the years of dealing with motorcycles, we have learned that regular washing is critical for a healthy bike as it helps in maintenance for prolonged life and service. It also allows you to check your bike for wear, and damage, such as oil leakages. Mud, road salt, grime, dirt bugs, and other dirt on your bike can damage the finishing and cause wear and tear to major components. You should, however, know how to wash your beloved machine right to provide the necessary care and avoid damaging it.
Certain cleaning items can damage your motorcycle’s paint, plastic, and metal parts. Avoid cleaning the bike while still hot, using non- motorcycle cleaning detergents/soaps, rough cleaning materials, and high-pressure wash. Also, use each cleaning product as per instructions and purpose.
If you just bought a motorcycle, cleaning it during your free time can be emotionally rewarding, and it could save you at least $25 each time. Also, you wouldn’t feel comfortable riding a dirty motorcycle. This post provides details on how to wash your bike, the products and materials you need, and dos and don’ts. Read on.
What Materials to Avoid When Cleaning a Motorcycle
Washing a motorcycle, the right way will prolong its life and efficiency. However, you need to do it right with the recommended products. Here are some things to avoid:
Avoid Other Cleaning Products
Always stick to cleaning products specifically designed for cleaning motorcycles and avoid using household soap and detergents. Motorcycle cleaning shampoos are designed to gently get grime and grease off your bike without adverse effects. Some random household soaps will not always guarantee this as they contain harsh chemicals that could damage your finishing and corrode metal parts of your motorcycle.
Avoid Rough Scrubbing Material
It might be tempting to give your motorcycle a hard scrub to get off dead bugs and sturdy grime. However, this can often lead to scratches on your paint. Always use a soft microfiber cloth, sponge, or chamois when cleaning or drying the motorcycle. If the dirt is proving difficult, try warm water or let it soak first to soften and loosen up.
Avoid Using a Pressure Washer on the Chain
If you intend to clean the motorcycle chain, always use chain-designed cleaning products before cleaning the rest of the motorcycle. A motorcycle chain can be damaged by highly pressured water once it gets inside the chain components. These components are always greased for efficiency and specially designed to keep water and dirt out.
Avoid Cleaning When the Motorcycle Engine Is Hot
Some motorcycle parts can get hot after a long drive. If you have been riding, you need to give the machine some time to cool down before you start washing it. Remember, if you splash cold water on the bike while it is still hot, the sudden temperature change and immediate contraction effects can cause some parts to crack, leading to severe damage and leaks. Also, washing the motorcycle while still hot can inflict severe burns.
Steps For Cleaning a Motorcycle

Preparation
Wash your motorcycle in a shady place. It is best to wash your motorcycle on a sunny day but not under direct sunlight. Cleaning it in the sun will give you a hard time as water and lather dry up fast, leaving more dirt specks. Also, wash your motorcycle on a flat surface and well-ventilated space such as a garage floor or street parking.
The first step when washing a motorcycle is getting the necessary materials. The items you require include:
- A motorcycle cleaner – using the right cleaning product will help keep the motorcycle surfaces safe from corrosion or bleaching effects.
- Hose with adjustable nozzle
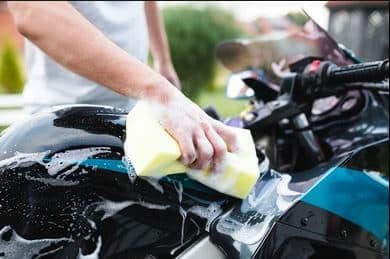
- Sponge- it is ideal for picking grime gently without scratching the finishing.
- Rag – for drying pass after rinsing
- Two water buckets – one with clean water and the other with soapy water
- Stiff and soft brush – only use a brush as a last resort for removing elbow grease from spoked wheels; soft brushes can be used on more sensitive surfaces.
- Microfiber – for the final pass or finishing with a detailing spray
- Chamois- this is an all-purpose drying leather
- Chain lube
You must ensure that all components, including electrical connections and sparkplug wires, are secured. It is critical to prevent water from draining into the exhaust system as it can find its way to your engine, causing damage. Since the exhaust is inclined in a way that water can easily flow through, place a rag or a rubber plug inside before you start washing. Also, strip the bike of any accessories you want to prevent it from getting wet or which might prevent you from reaching dirty spots.
Soak The Motorcycle
Rinse the bike with clean water with a low hose setting, starting with the sensitive parts of the motorcycle. As you do so, avoid squirting water at electrical parts. You can increase the hose pressure when you get to the wheels and fenders. After soaking, you may want to let the grime sit for a while and loosen up before applying another round of water.
Lather
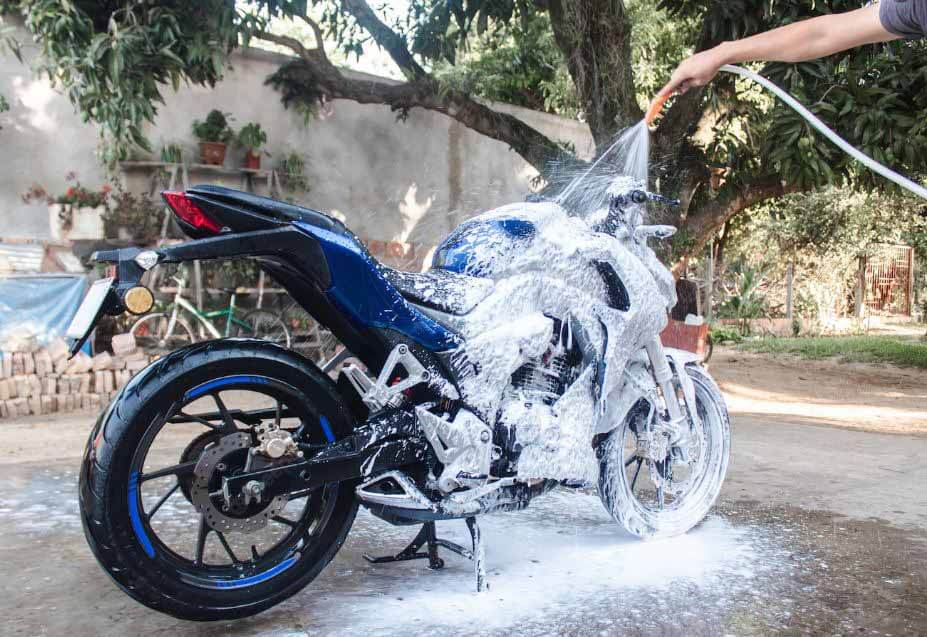
Don’t let the surfaces dry out before lathering; the procedure you follow depends on your cleaning product. You should follow the instructions on the packaging. If you have a non-scrubbing spray cleaner, you only need to apply and let it sit for the recommended time before rinsing it off. Otherwise, it would be best to use the sponge to sud up the motorcycle, beginning with the cleaner parts at the top downwards.
You may want to clean the more stained parts first, such as the wheels. Washing them later would increase the risk of staining the readily cleaned parts. You can scrub the mud off the wheels first before lathering the rest of the bike.
Most bike cleaning experts recommend using two water buckets for cleaning motorcycles, one with soap for lathering and the other with clean water for rinsing. Rinse the sponge often to remove debris that could scratch the paint and remove excess dirt. Change the water as often as needed.
Use a stiff or soft brush to get the grime off for hard-to-reach areas—a stiff brush for the wheels and a soft brush for engine parts. If covered with heat stains, clean the steel exhaust pipe using a liquid abrasive. Also, keep chemical solvents and brake fluid away from plastic and painted surfaces.
Rinse
Rinse the motorcycle on a low-pressure hose setting before it dries up, starting from the top. Increase the pressure when you get to the wheels. Rinse with plenty of water as residue detergent can corrode and wear alloy parts.
Dry
Dry out the moisture on your motorcycle using a microfiber cloth or chamois, starting with the painted areas. You can begin drying with the gas tank, then seat, engine, exhaust, and wrap up with the wheels. Remember to change the drying cloth whenever necessary. When using a chamois, you only need to rinse and wring dry.
The headlight lens might be clouded on the inside after washing. Run the engine and switch them on to a high beam to clear the condensed moisture.
Lubricate Drive Chain
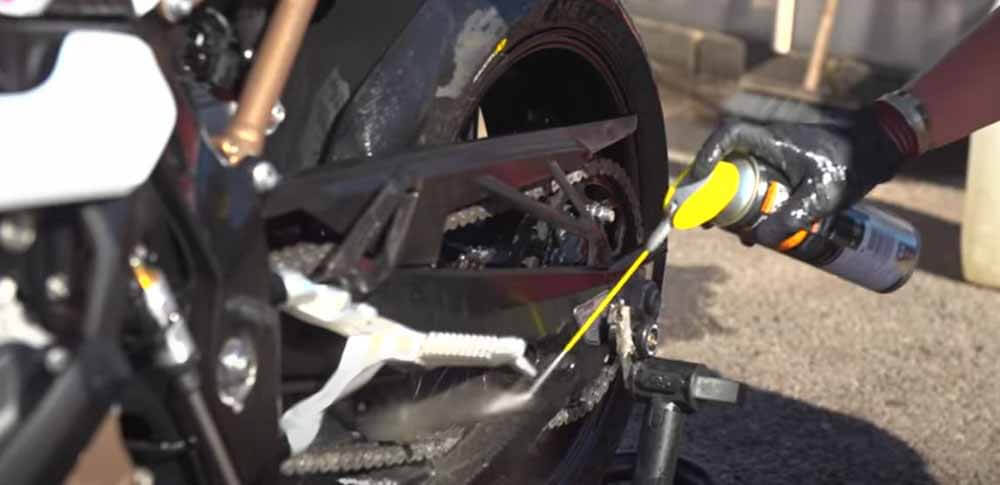
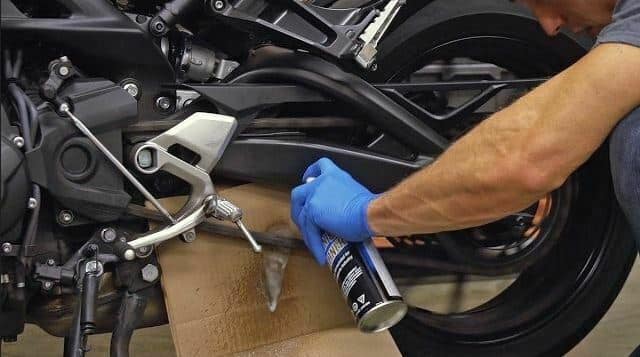
After washing and drying your motorcycle, you need to lubricate the drive chain by applying a lubricant over the entire drive chain. You have probably got soap and water over this critical part of your motorcycle, removing some of the grease. Lubricating it will extend its working life and efficiently transfer power to the rear wheel. Consult and use the recommended lubricant for your motorcycle chain.
Remember, you don’t clean the chain with water but with kerosene and wheel cleaner. And first, you have to get the chained wheel off the ground for ease of rotation. Rotate the wheel and chain as you spray with cleaner and allow it to soak for a while before brushing off the grime. Use a towel to rub off the cleaner and dirt as you scrub. Rotate the wheel as you clean it until it is all done the wipe it completely dry.
Apply lubricant inside, outside, and around the chain. Lubricate plain-metal chains heavily and seal the chains lightly and wipe off excess products and any spills.
Wax or Polish
After lubricating the chin, you can now go head and plish your motorcycle using a commercial liquid/spray/paste cleaner or polish. Look for polish or wax specially designed for motorcycles and follow the instructions on the product use.
Take a Short Ride
Once it is done, start the motorcycle and let the engine run for a few minutes. You can take it for a test ride, which will help get water pools off some areas. First, get the rag off the exhaust pipe. The brakes might be less responsive because of the dampness, and other parts might remain wet, which is okay. It is best to begin at a lower speed and give a longer braking distance. Remember, motorcycles are designed to drive in the rain.
Final thought: What Should You Not Wash a Motorcycle With?
Cleaning your motorcycle often will ensure a brand-new appearance and make it easier to maintain. The activity can keep you occupied during your free time and saves you money. Finally, always get the right items and products for specific parts and follow the guidelines provided by the manufacturer.
Information for this article was partially sourced and researched from the following authoritative Government, educational, corporate, and nonprofit organizations:
Water Conservation and Washing Vehicles
About the Author:
Michael Parrotte was the Vice President of AGV Helmets America, and a consultant for KBC Helmets, Vemar Helmets, Suomy Helmets, Marushin Helmets, KYT Helmets, and Sparx Helmets. In addition, he is the founder and owner of AGV Sports Group.
Click here for all of Michael’s contact and Social Media information https://parrotte.com/
Click here for all AGV Sports Group Social Media information http://agvsport.info/
FM/GM


